| Items Needed | Left | Center | Right | Total |
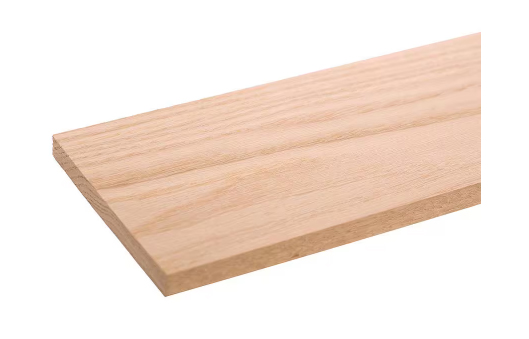
| Shelving board | | | | |
| Shelving board Entry door 1 | | | | |
| Shelving board Entry door 4 | | | | |
| Shelving board Entry door 3 | | | | |
| Shelving board Garage door | | | | |
| Shelving board Sliding glass door 1 | | | | |
| Shelving board Sliding glass door 2 | | | | |
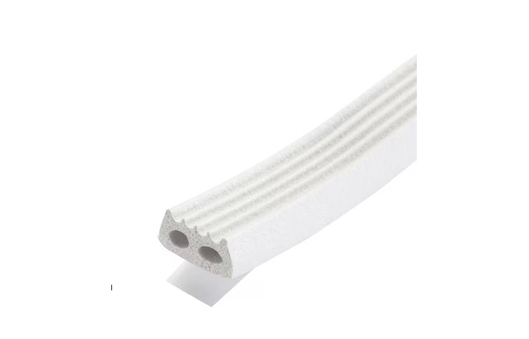
| Weather stripping | | | | |
| Weather Stripping board Entry door 1 | | | | |
| Weather Stripping board Entry door 4 | | | | |
| Weather Stripping board Entry door 3 | | | | |
| Weather Stripping board Garage door | | | | |
| Weather Stripping board Sliding glass door 1 | | | | |
| Weather Stripping board Sliding glass door 2 | | | | |
| Misc | Quantity | | | Total |
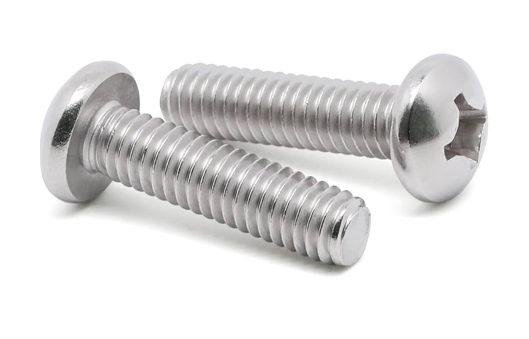
| Pan head screws 1/4 20 x 3/4 (hinges) | | | | |
| Pan head screws 1/4 20 x 1 1/2 (seal support) | | | | |
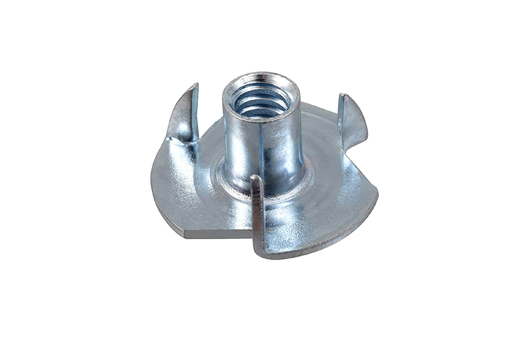
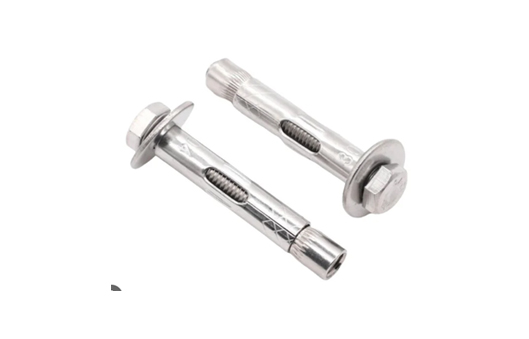
| Wood anchors 1/4/ 20 (walls and frames) | | | | |
| Concrete anchors (for flooring) (1 every 18 inches) | | | | |
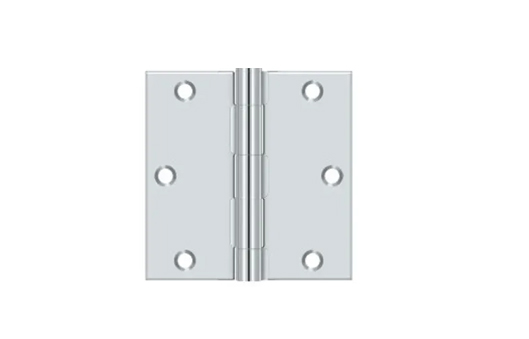
| Hinges (at least 3.5 inches) | | | | |
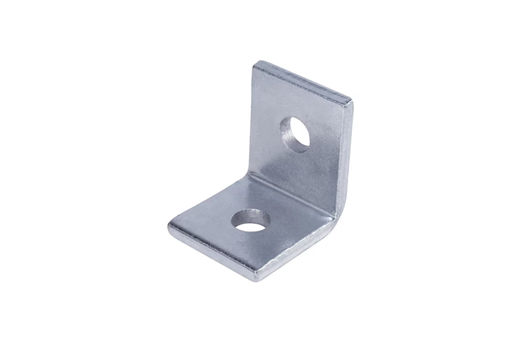
| L brackets flooring (1 every 18 inches) | | | | |
| L brackets (2 per side on 12 inch shelving board) | | | | |
| Exterior paint (no spray – you decide color) | | | | |
| Neoprene Rubber Strips (rain guard seals) | | | | |
| Entry door | | | | |
| Garage door | | | | |
| Sliding glass door | | | | |
| Tools Needed | | | | |
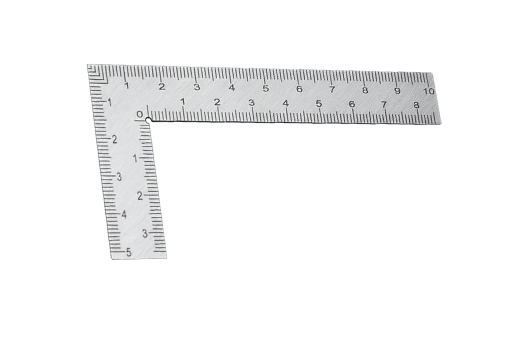
| Right angle ruler | | | | |
| Saw (circular or jig saw) | | | | |
| Electric drill (drill bits and screw bits) | | | | |
| Paint brush/roller | | | | |